¶ Clash for Linux配置
git clone https://github.com/wnlen/clash-for-linux.git
sudo mv clash-for-linux /opt
chown -R charleye:charleye clash-for-linux

cd clash-for-linux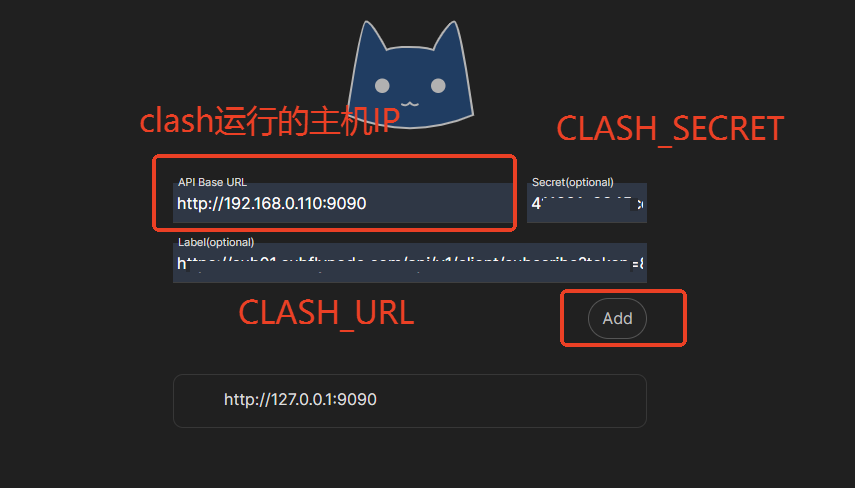
vim .env修改变量CLASH_URL和CLASH_SECRET

openssl rand -hex 32这个命令生成的随机数,用作CLASH_SECRET变量的值
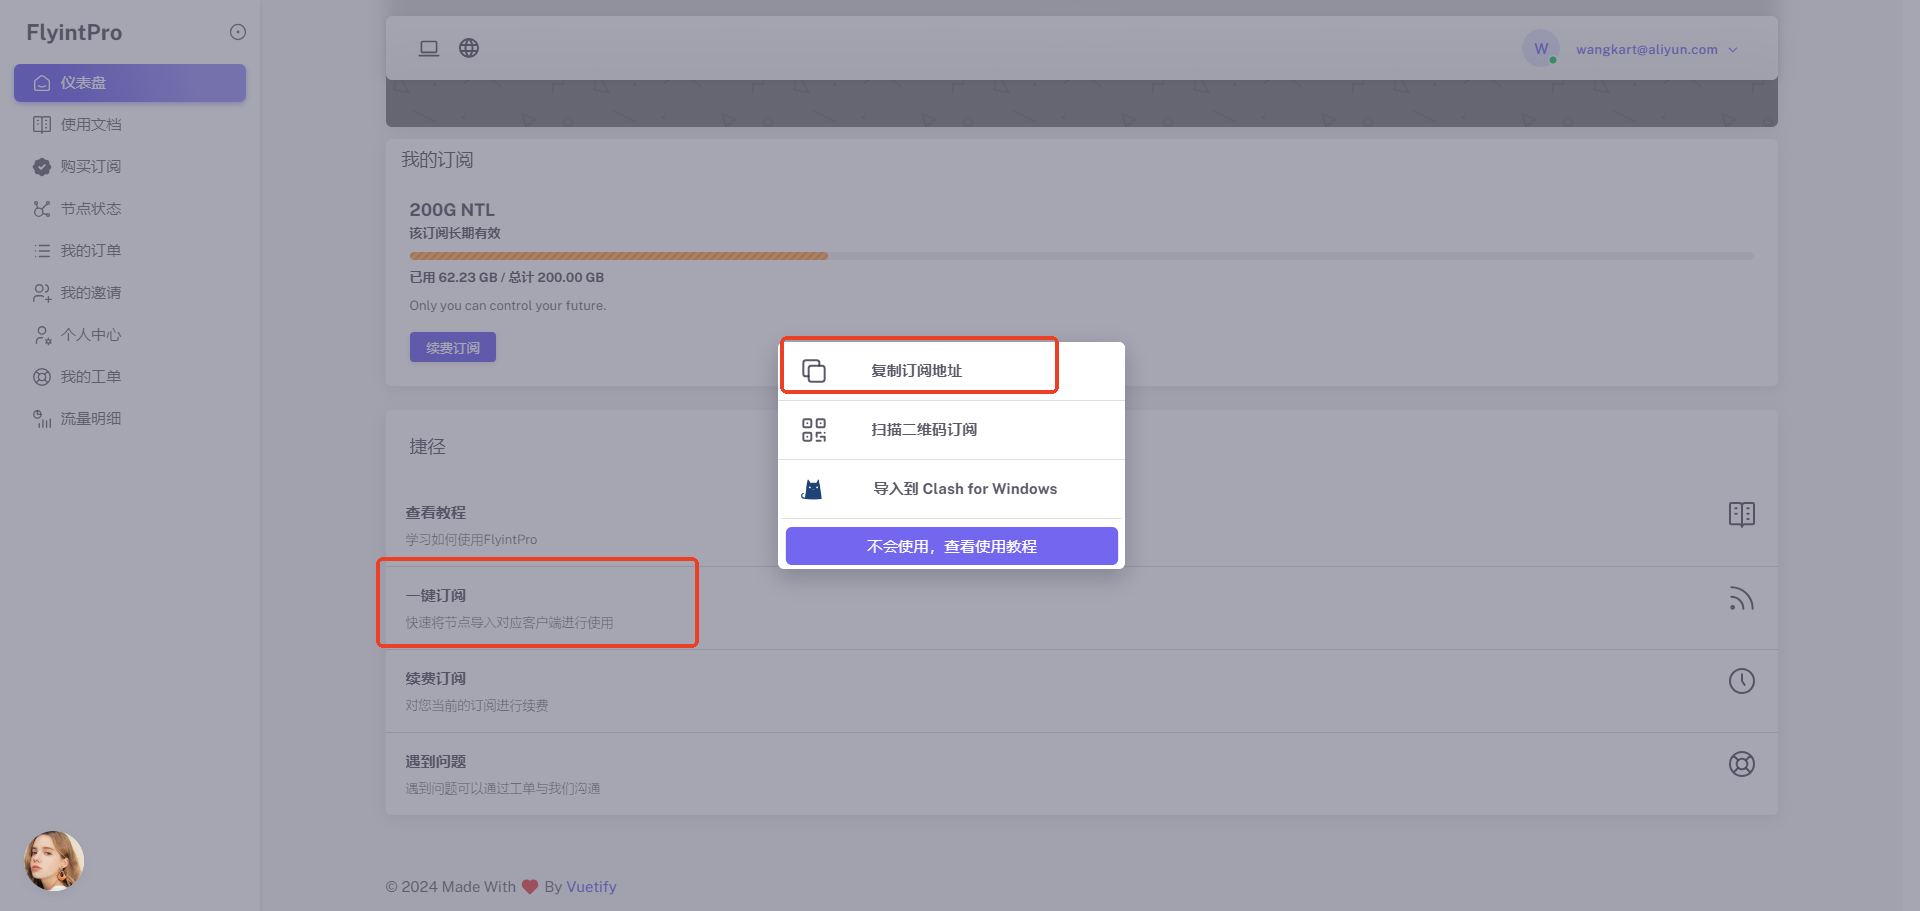
CLASH_URL变量的值,从你购买的代理服务提供商那里获取,访问:https://to.flyintpro.com/
配置好env后,执行下面命令:
cd /opt/clash-for-linux/
sudo bash start.sh
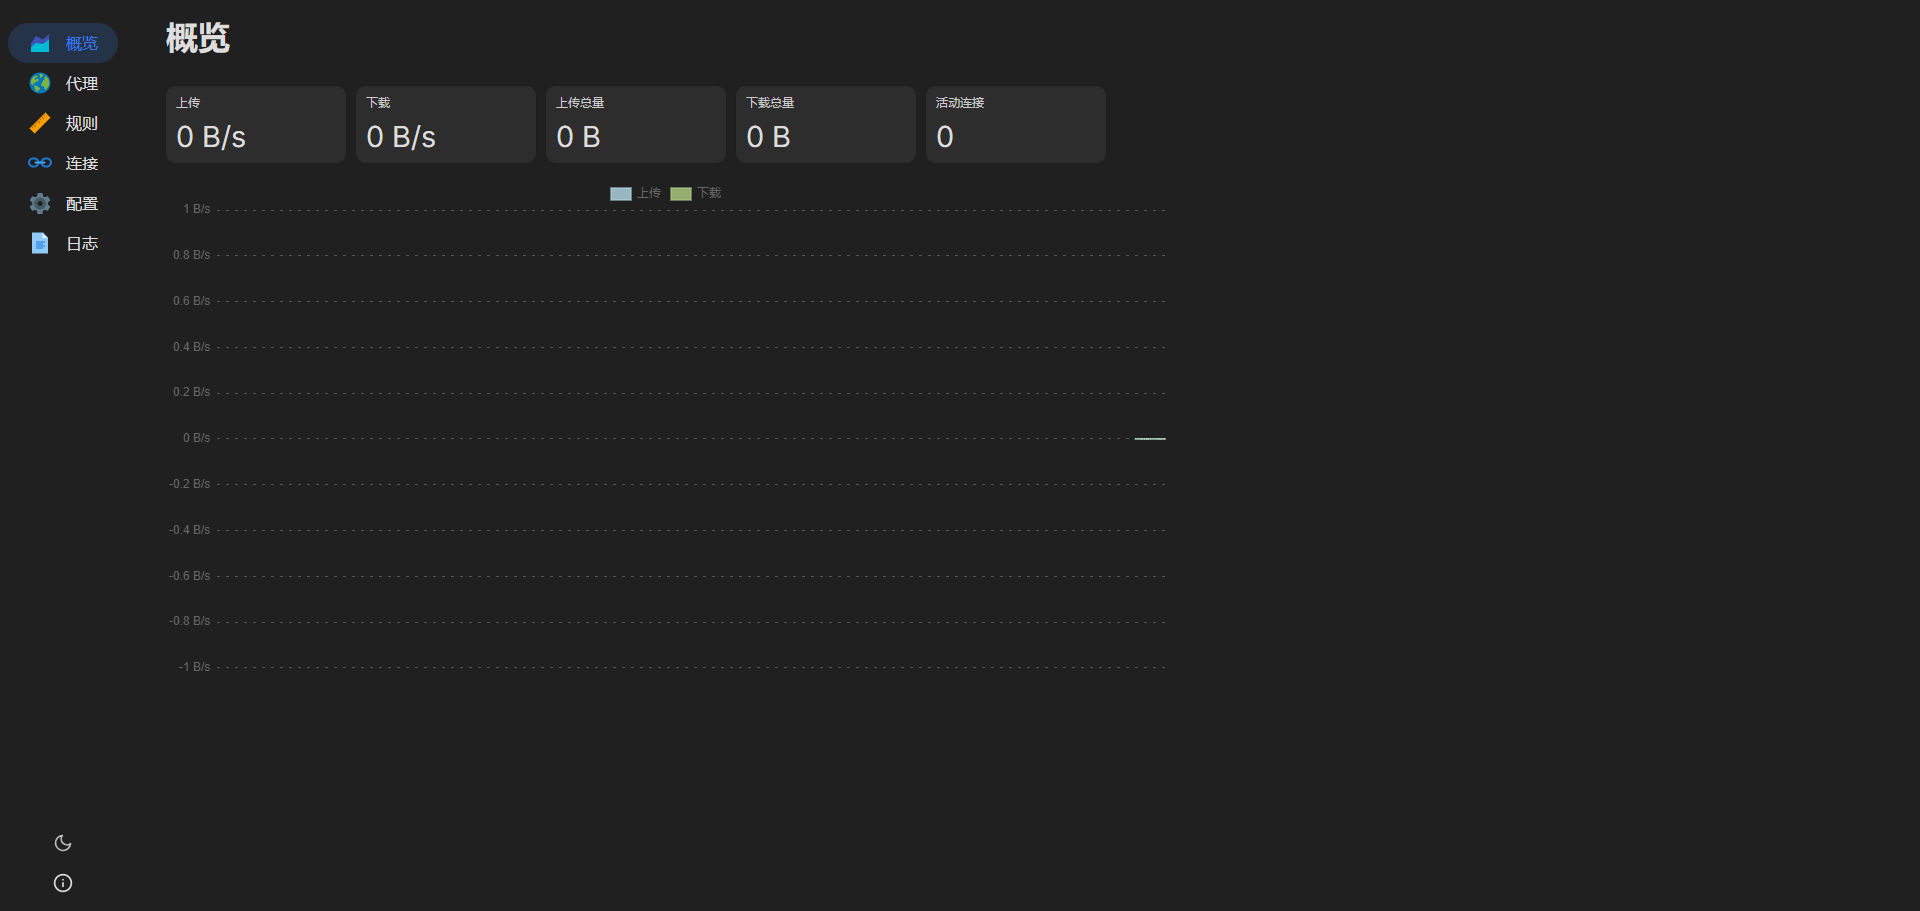
浏览器里面输入http://192.168.0.111:9090/ui
点击Add之后
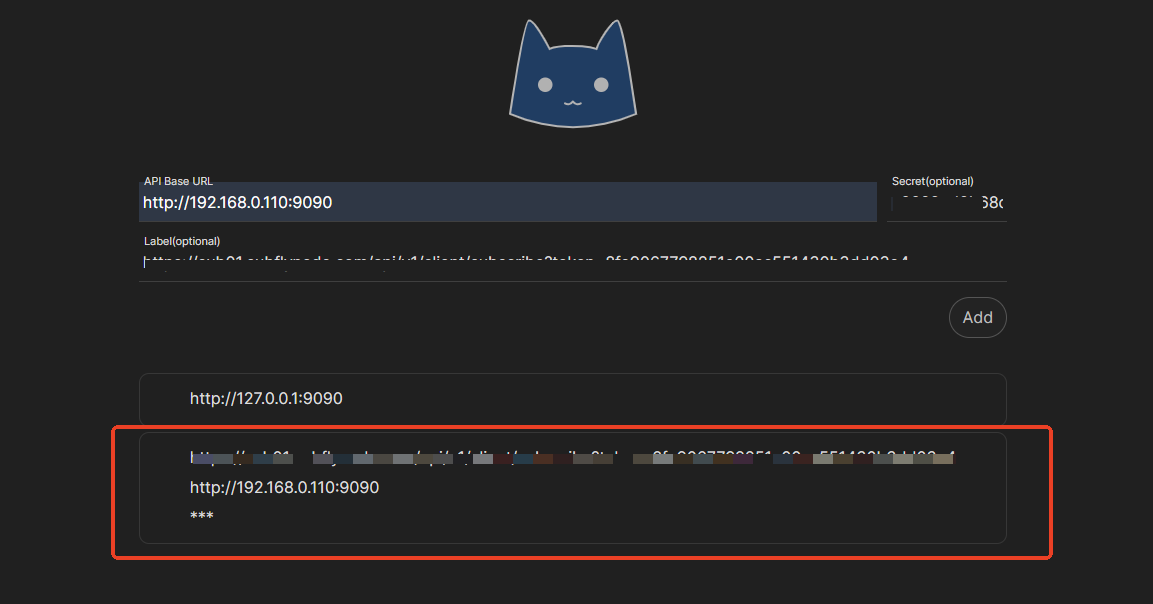
点击红框里面添加的配置,就会进入下面的界面,查看生效的代理详情或者更改代理路线
上面都配置好后,写一个 clash.service 来进行管理
[Unit]
Description=Clash for Linux
After = network.target syslog.target
Wants = network.target

[Service]
Type = simple
Restart = always
ExecStart= /opt/clash-for-linux/bin/clash-linux-amd64 -d /opt/clash-for-linux/conf
ExecStop = /usr/bin/killall clash-linux-amd64

[Install]
WantedBy=multi-user.target
sudo mv clash.service /etc/systemd/system/
sudo systemctl enable clash.service
sudo systemctl start clash.service
sudo systemctl status clash.service
执行start.sh脚本,会自动生成这个文件,但是执行shutdown.sh脚本,又会把这个clash.sh删除了,因此如果没有的话,可以自己手动添加一下
/etc/profile.d/clash.sh
# 开启系统代理
function proxy_on() {
        export http_proxy=http://127.0.0.1:7890
        export https_proxy=http://127.0.0.1:7890
        export no_proxy=127.0.0.1,localhost
        export HTTP_PROXY=http://127.0.0.1:7890
        export HTTPS_PROXY=http://127.0.0.1:7890
        export NO_PROXY=127.0.0.1,localhost
        echo -e "\033[32m[√] 已开启代理\033[0m"
}

# 关闭系统代理
function proxy_off(){
        unset http_proxy
        unset https_proxy
        unset no_proxy
        unset HTTP_PROXY
        unset HTTPS_PROXY
        unset NO_PROXY
        echo -e "\033[31m[×] 已关闭代理\033[0m"
}启用代理的命令:
source /etc/profile.d/clash.sh
proxy_on

#验证代理是否生效
curl www.google.com

# 关闭代理
proxy_off也可以把上面的命令添加到~/.bash.rc文件末尾,这样打开终端会自动开启代理,也可以上面手动执行
¶ FQA
- 无法进入yacd的dashboard
- https://github.com/haishanh/yacd/issues/854
- 清除浏览器的缓存,重新访问http://192.168.0.110:9090
¶ Reference
- Clash for linux README.md